OpenClaw Setup Guide: Install, Configure, and Deploy in 15 Minutes (Cloud or Self-Host)
A practical OpenClaw setup guide for fast deployment: cloud vs self-host, exact setup checklist, common install errors, and production hardening tips.
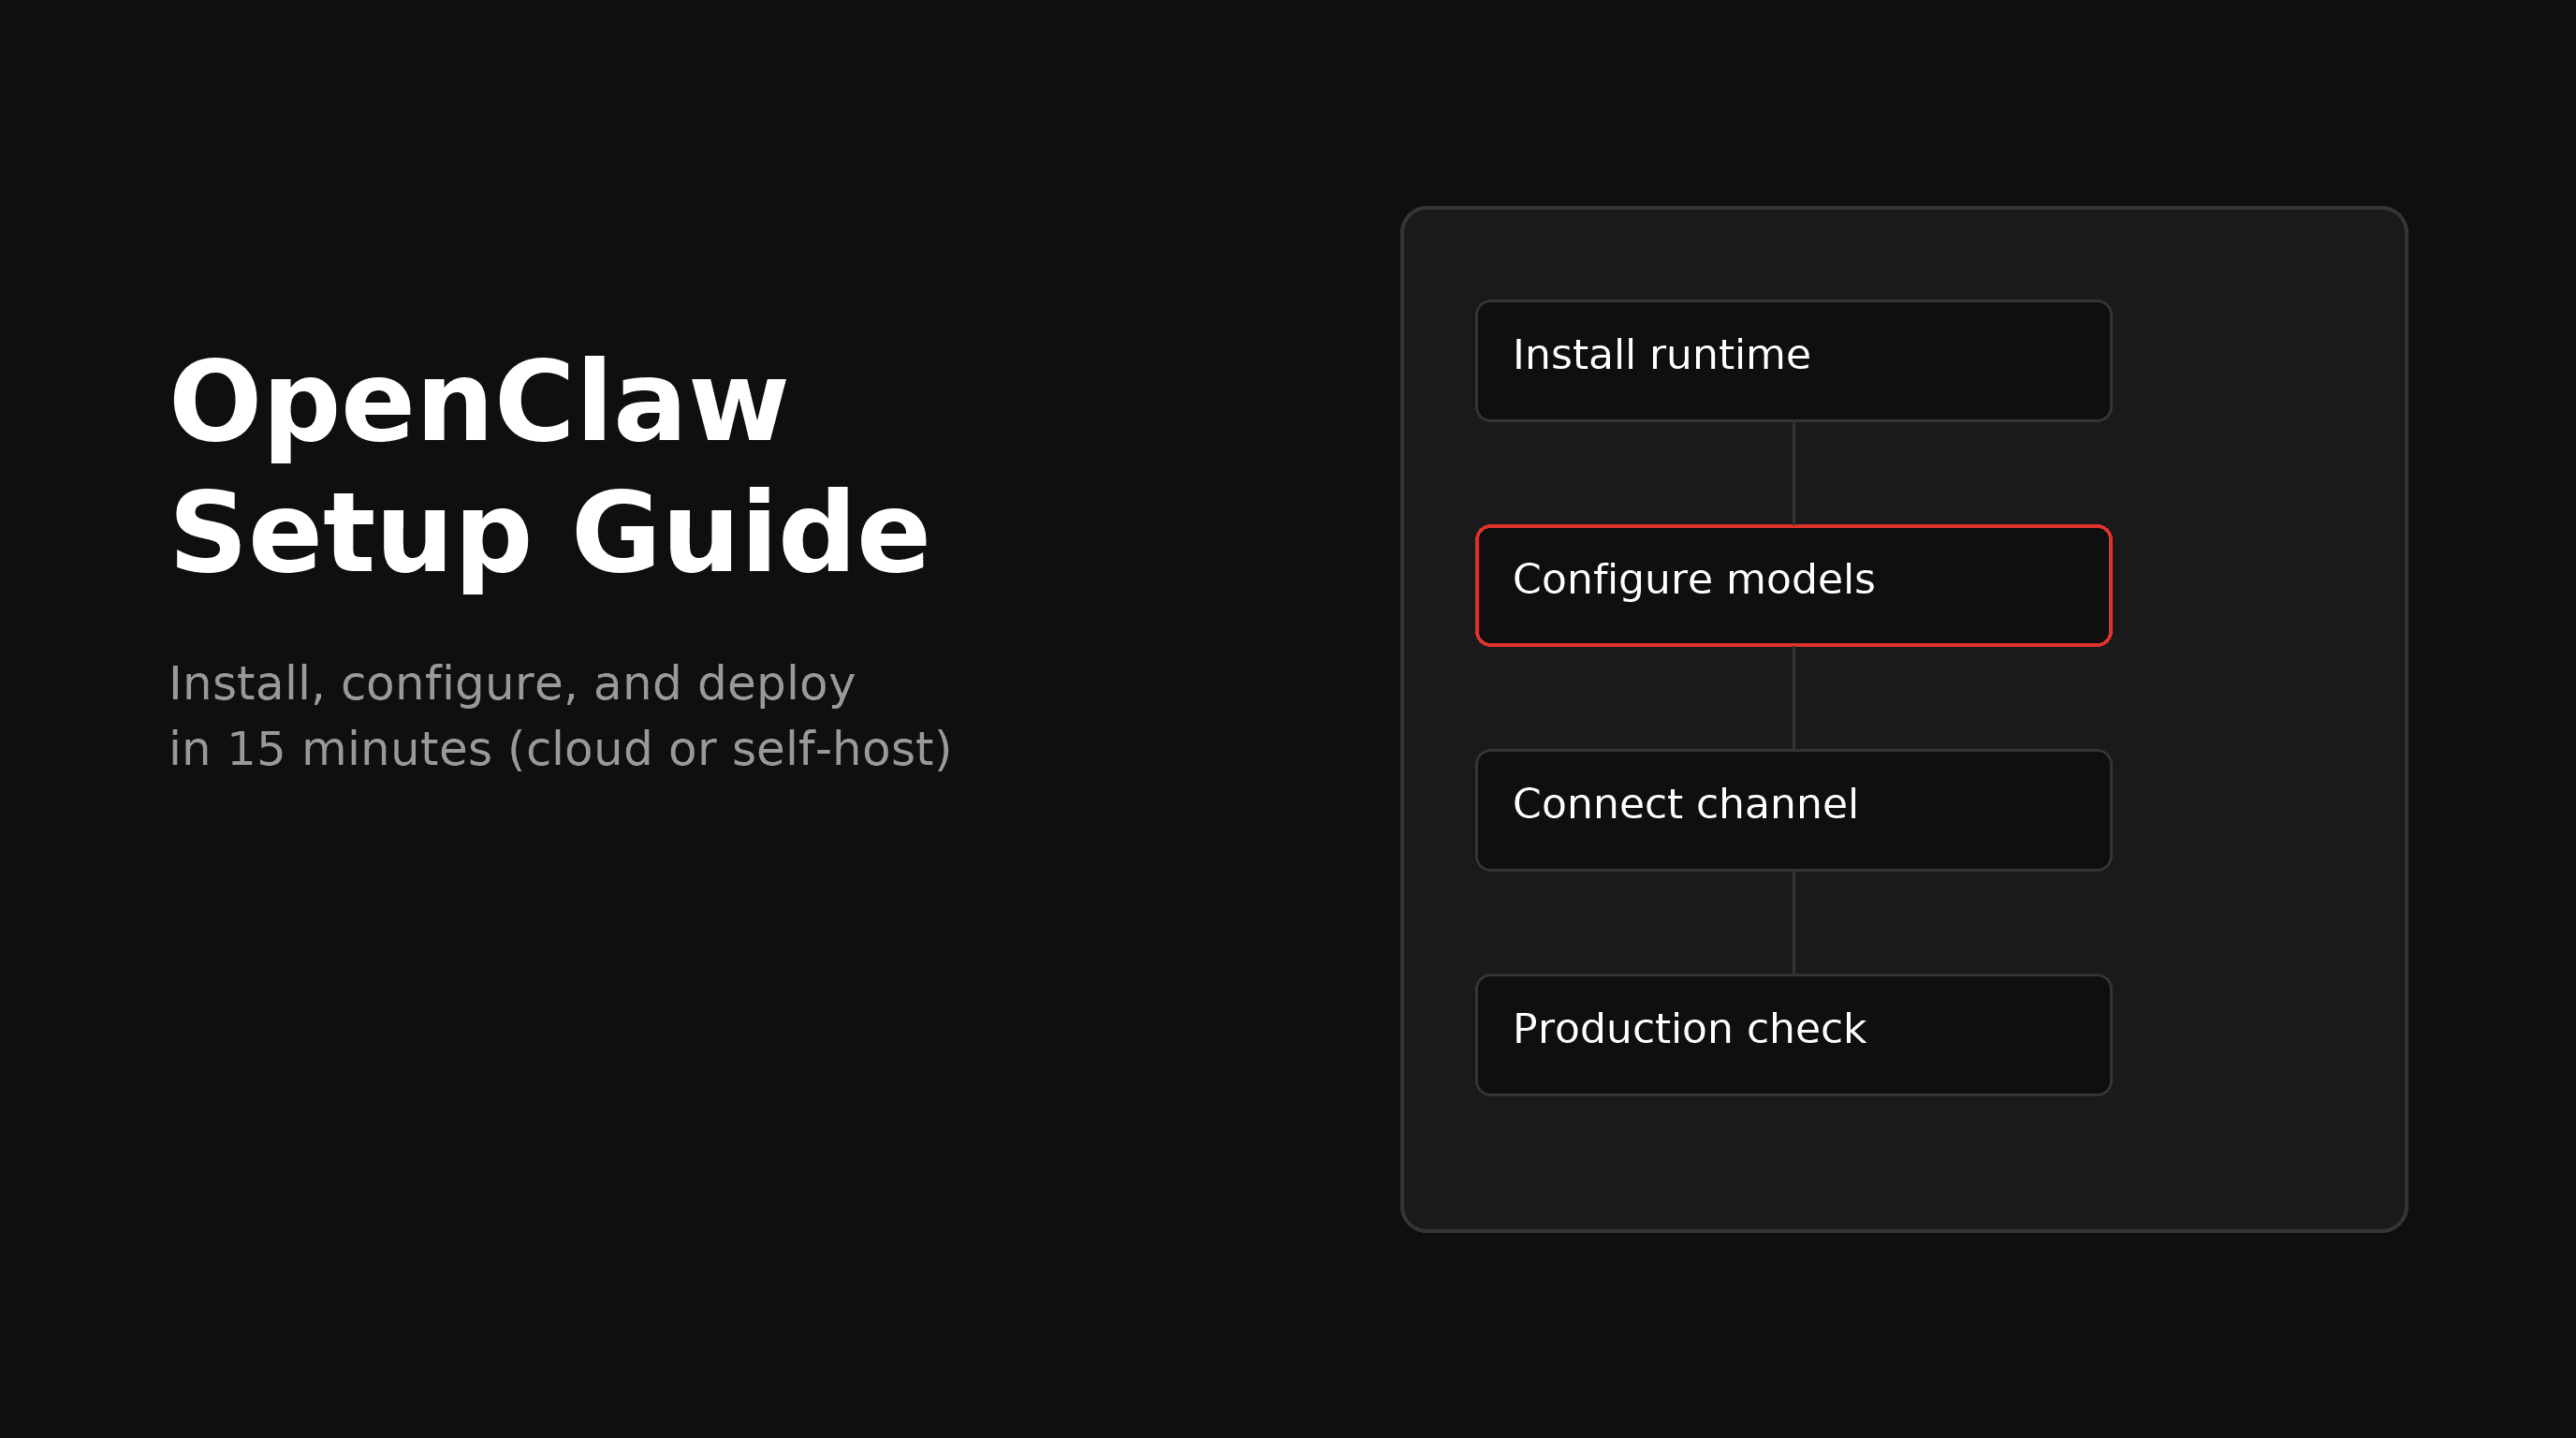
If you searched for openclaw setup, you probably want one thing: a working assistant today, not a week of infra detours.
This guide is the fastest path to get OpenClaw live, whether you want:
• a managed cloud path (fastest time to value), or
• full self-hosted control (maximum customization).
What “OpenClaw setup” actually includes
Most people underestimate setup scope. It is not just installing a package.
A real setup includes:
• runtime deployment (always-on)
• model/provider config
• workspace + memory structure
• channel connection (Telegram/Slack/etc.)
• secrets management
• health checks and restart strategy
If one part is missing, the assistant feels unstable.
Fast decision: cloud vs self-host
Choose cloud/managed setup if you want:
• the assistant working today
• less operational overhead
• simpler updates and recovery
Choose self-host setup if you want:
• full stack control
• deep customization
• local/private infra ownership
For most teams, managed setup gets value first. You can still migrate later.
15-minute OpenClaw setup checklist
Step 1) Pick deployment mode
• Managed cloud: quickest route for production usage
• VPS/self-host: more control, more maintenance
Step 2) Configure models/providers
• Add provider keys
• Set default model + fallback model
• Test one prompt end-to-end before channel setup
Step 3) Initialize workspace + memory
Create/verify core files:
• `AGENTS.md`
• `SOUL.md`
• `USER.md`
• `MEMORY.md`
• `memory/YYYY-MM-DD.md`
This gives your assistant continuity and better behavior.
Step 4) Connect one channel first
Start with a single channel (usually Telegram) to reduce moving parts.
Validation test: 1. Send message to bot 2. Confirm bot reply 3. Trigger one tool action 4. Confirm memory write and recall
Step 5) Add uptime guardrails
• process supervisor/restart policy
• basic error logging
• daily health check
Step 6) Add second channel only after stability
Do not configure every connector on day one.
Common OpenClaw setup failures (and fixes)
1) Bot responds intermittently
Cause: local machine sleep/network interruptions. Fix: move runtime to always-on cloud/VPS.
2) “Configured but not enabled” channel states
Cause: channel entries exist but enable flags missing. Fix: re-check plugin/channel `enabled: true` and reload.
3) Runtime starts but tools fail
Cause: env vars or API keys missing in runtime context. Fix: verify env injection path, then restart and re-test one tool.
4) Works for a day, then drifts
Cause: config drift + no update discipline. Fix: pin a baseline config and use controlled change windows.
Setup architecture that scales
For stable production usage:
• one primary model + one fallback model
• one primary channel per assistant
• explicit memory policy
• clear skill boundaries
• weekly config review
This avoids 80% of “it was working yesterday” incidents.
KPI: how to know your setup is good
A good setup is not “it deployed.” A good setup means:
• median response latency is stable
• failed tool calls are rare
• channel delivery is consistent
• memory recall is reliable across sessions
If these four are solid, your setup is production-grade.
Best-practice rollout plan
Week 1:
• launch one assistant
• one channel
• one production workflow
Week 2:
• add second workflow
• tighten observability
• review failure logs
Week 3:
• add second channel (if needed)
• performance tuning
• documentation hardening
Final takeaway
The fastest OpenClaw setup is the one you can keep stable.
If your goal is outcomes, start with the lowest-operations path, validate one real workflow, then expand. If your goal is deep infrastructure control, self-hosting is still the right move—but treat reliability as part of setup, not an afterthought.
Ready to move fast? Start with a production-ready setup path and get your first real OpenClaw workflow live today.